

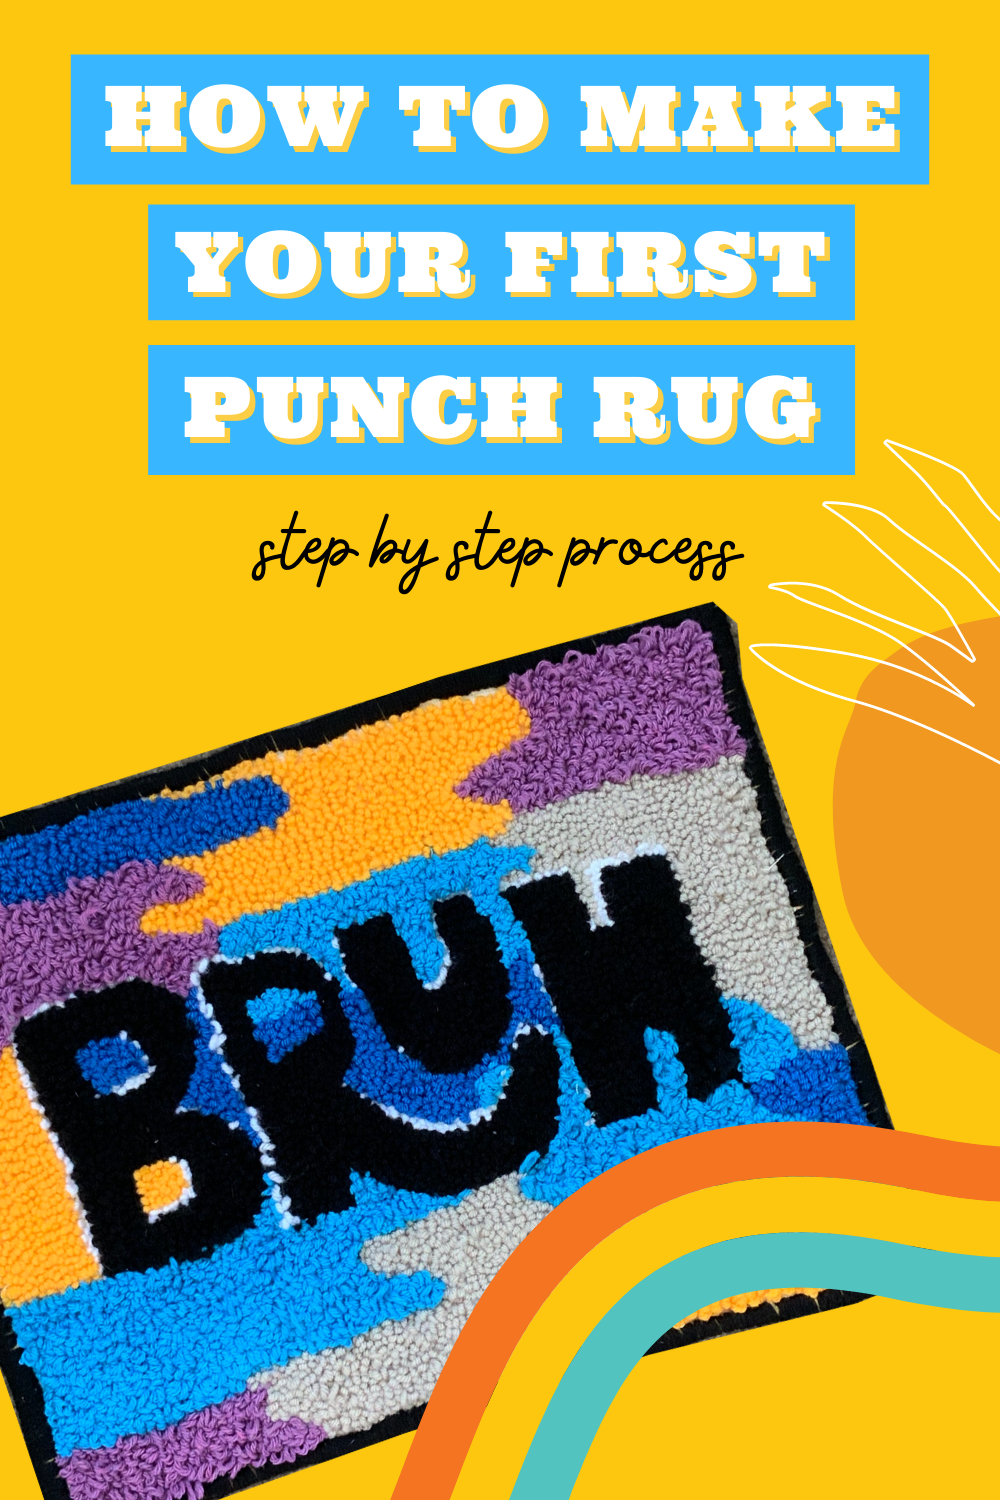
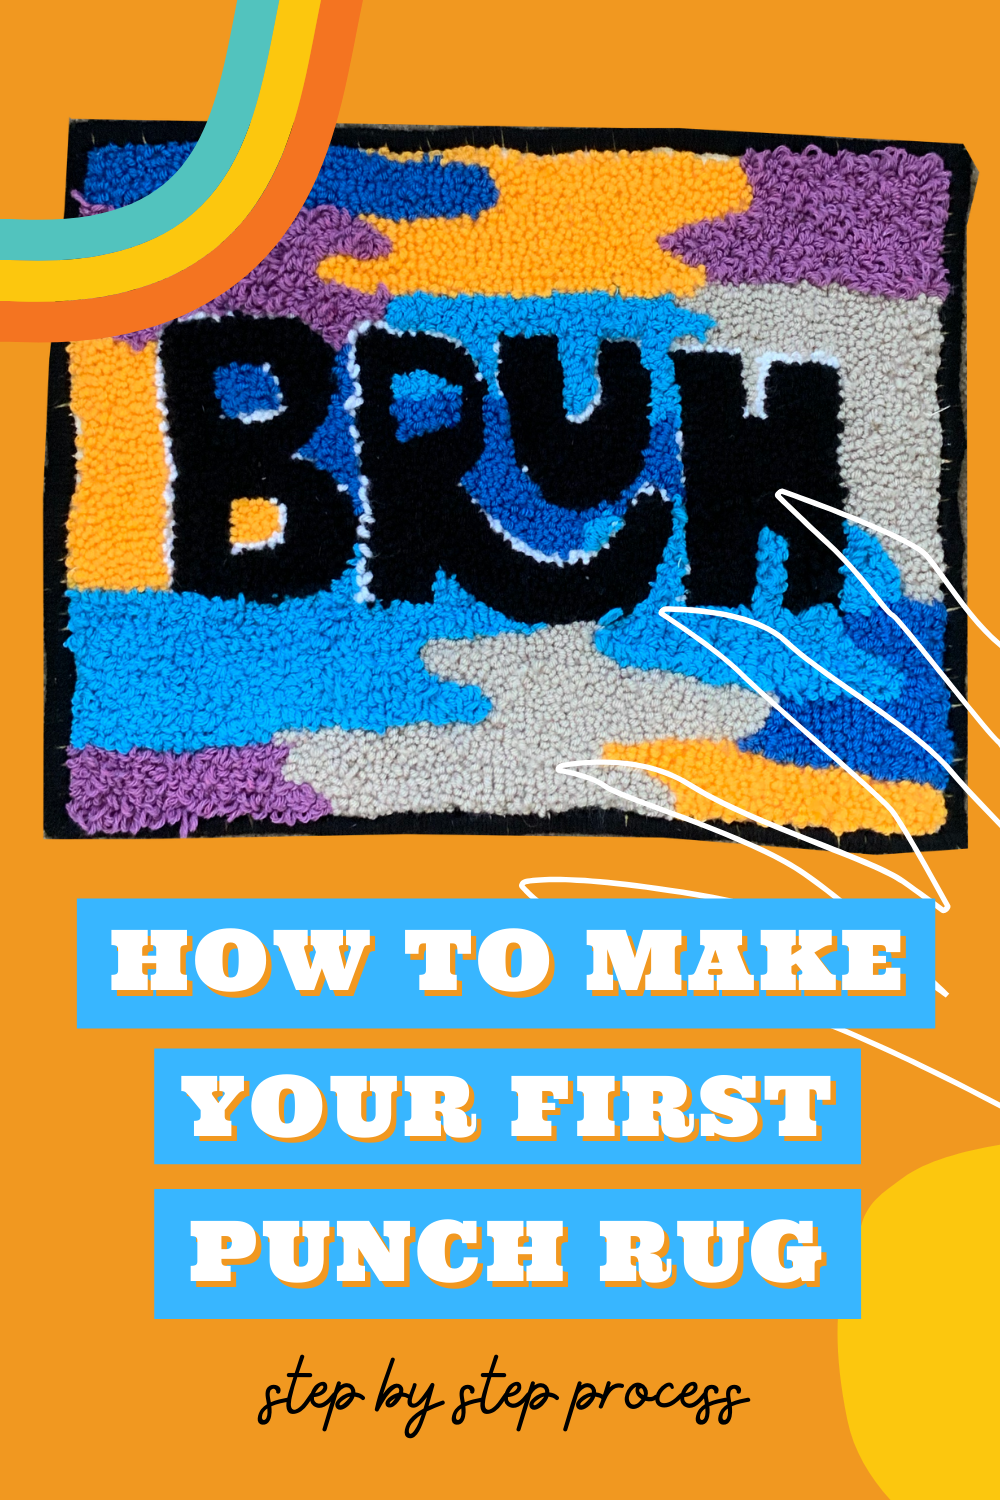
How to Make your First Punch Needle Rug
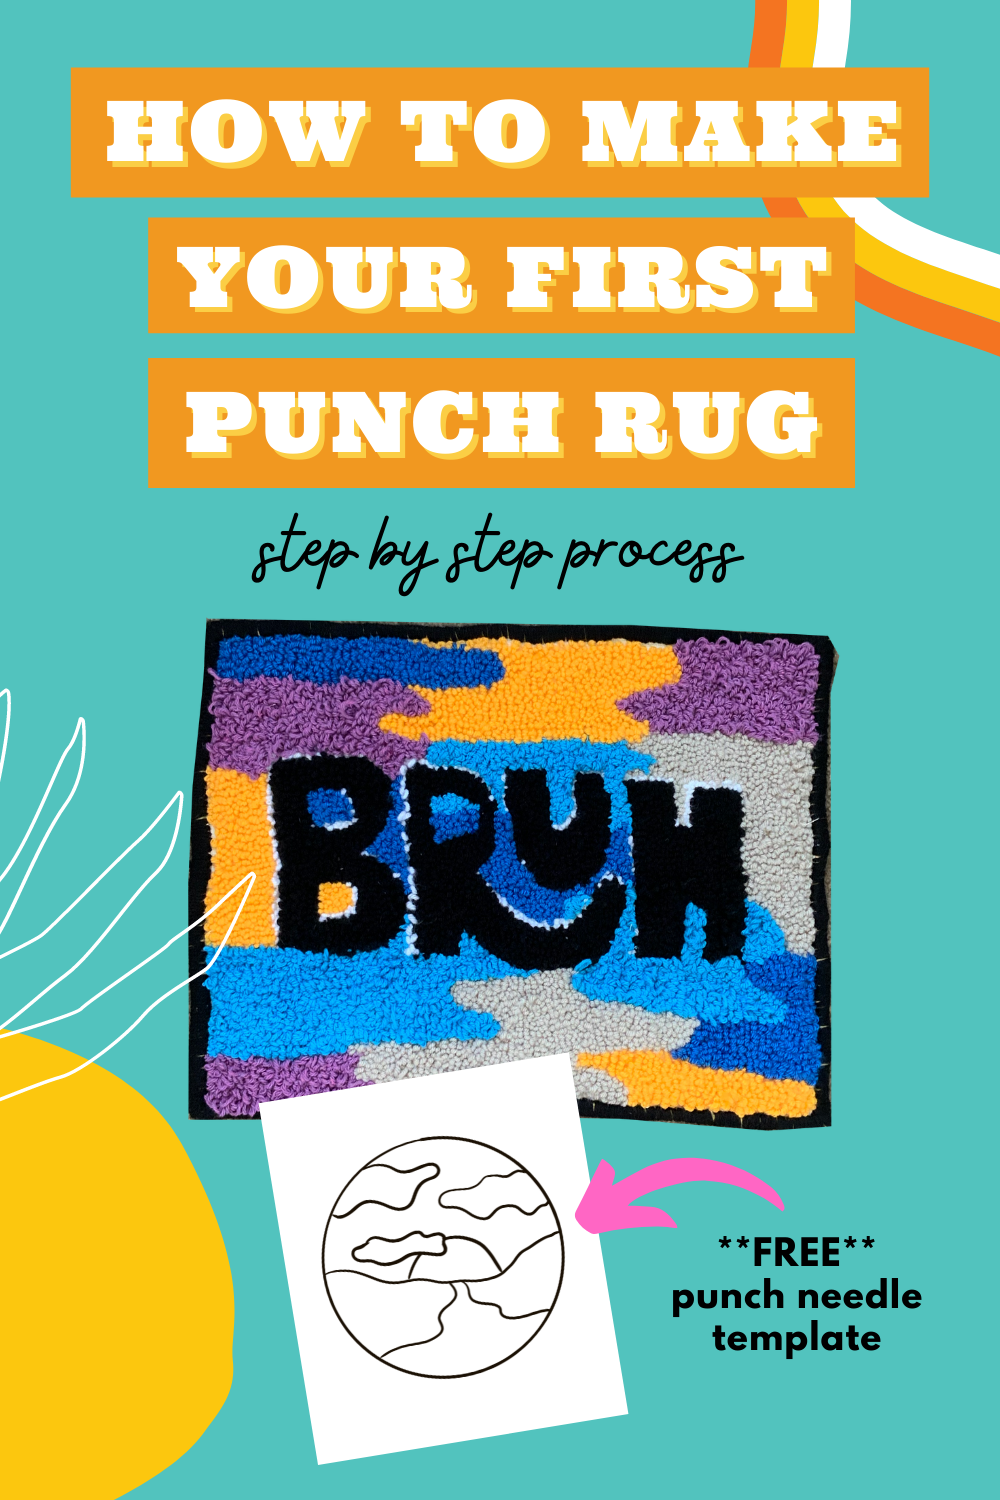
In this tutorial, I show you my step-by-step process of how I made my first punch needle rug. This video is a great way to start learning how to do punch needle projects for beginner crafters. Want to start small? No problem! Check out our fun punch-needle kits here or download our FREE punch needle template here. Thanks for watching! Make sure to subscribe, like, and comment :)
Materials Needed:
Any of these materials can be bought at your local stores like Dollar Tree, Hobby Lobby, JoAnn Fabrics, Michaels, etc.
Video Points:
Step 1: Making the frame - 0:47
Step 2: Tracing the image - 1:00
Step 3: Starting to punch your image - 1:48
Step 4: Cut off excess string - 3:53
Step 5: Applying the adhesive - 4:18
Step 6: Applying the backing - 5:52
Step 7: Finishing the edges - 7:33
Please share this post! If you’re a Pinterest junkie like myself, Pin the pins below to your board(s).
*Some of these are affiliate links which means I make a small percentage from each link you buy something from.